https://davidparkerphotography.slickpic.com/albums/Central-Australia/photo/#17969258Stanley Chasmhttps://davidparkerphotography.slickpic.com/albums/Central-Australia/photo/#17969260Stanley Chasmhttps://davidparkerphotography.slickpic.com/albums/Central-Australia/photo/#17969255Walk to Stanley Chasmhttps://davidparkerphotography.slickpic.com/albums/Central-Australia/photo/#17969259Walk to Stanley Chasmhttps://davidparkerphotography.slickpic.com/albums/Central-Australia/photo/#17969261Walk to Stanley Chasmhttps://davidparkerphotography.slickpic.com/albums/Central-Australia/photo/#17969257Walk to Stanley Chasmhttps://davidparkerphotography.slickpic.com/albums/Central-Australia/photo/#17969250Walk to Stanley Chasmhttps://davidparkerphotography.slickpic.com/albums/Central-Australia/photo/#17969263Walk to Stanley Chasmhttps://davidparkerphotography.slickpic.com/albums/Central-Australia/photo/#17969262Walk to Stanley Chasmhttps://davidparkerphotography.slickpic.com/albums/Central-Australia/photo/#17969264Walk to Stanley Chasmhttps://davidparkerphotography.slickpic.com/albums/Central-Australia/photo/#17969265Walk to Stanley Chasmhttps://davidparkerphotography.slickpic.com/albums/Central-Australia/photo/#17969266Ellery Creek Big Holehttps://davidparkerphotography.slickpic.com/albums/Central-Australia/photo/#17969270Ellery Creek Big Holehttps://davidparkerphotography.slickpic.com/albums/Central-Australia/photo/#17969267Haast Bluffhttps://davidparkerphotography.slickpic.com/albums/Central-Australia/photo/#17969272John Flynn's Gravehttps://davidparkerphotography.slickpic.com/albums/Central-Australia/photo/#17969273John Flynn's Gravehttps://davidparkerphotography.slickpic.com/albums/Central-Australia/photo/#17969274Ormiston Gorgehttps://davidparkerphotography.slickpic.com/albums/Central-Australia/photo/#17969277Ormiston Gorgehttps://davidparkerphotography.slickpic.com/albums/Central-Australia/photo/#17969275Ormiston Gorgehttps://davidparkerphotography.slickpic.com/albums/Central-Australia/photo/#17969276Ormiston Gorgehttps://davidparkerphotography.slickpic.com/albums/Central-Australia/photo/#17969281Ormiston Gorgehttps://davidparkerphotography.slickpic.com/albums/Central-Australia/photo/#17969290Ormiston Gorgehttps://davidparkerphotography.slickpic.com/albums/Central-Australia/photo/#17969280Ormiston Gorgehttps://davidparkerphotography.slickpic.com/albums/Central-Australia/photo/#17969278Western McDonnell Ranges (1)https://davidparkerphotography.slickpic.com/albums/Central-Australia/photo/#17969284Western McDonnell Ranges (2)https://davidparkerphotography.slickpic.com/albums/Central-Australia/photo/#17969279Western McDonnell Ranges (3)https://davidparkerphotography.slickpic.com/albums/Central-Australia/photo/#17969282Western McDonnell Ranges (4)https://davidparkerphotography.slickpic.com/albums/Central-Australia/photo/#17969285Western McDonnell Ranges (5)https://davidparkerphotography.slickpic.com/albums/Central-Australia/photo/#17969289Western McDonnell Ranges (6)https://davidparkerphotography.slickpic.com/albums/Central-Australia/photo/#17969288Western McDonnels, with Haast Bluff in the distant backgroundhttps://davidparkerphotography.slickpic.com/albums/Central-Australia/photo/#16997504Heavitree Gap, Alice Springshttps://davidparkerphotography.slickpic.com/albums/Central-Australia/photo/#16997502Alice Springs, from Anzac Hillhttps://davidparkerphotography.slickpic.com/albums/Central-Australia/photo/#16997503Alice Springs, from Anzac Hillhttps://davidparkerphotography.slickpic.com/albums/Central-Australia/photo/#16997501Anzac Hill, Alice Springshttps://davidparkerphotography.slickpic.com/albums/Central-Australia/photo/#16997498Old Telegraph Station, Alice Springshttps://davidparkerphotography.slickpic.com/albums/Central-Australia/photo/#16997499Old Telegraph Station, Alice Springshttps://davidparkerphotography.slickpic.com/albums/Central-Australia/photo/#16997500Old Telegraph Station, Alice Springshttps://davidparkerphotography.slickpic.com/albums/Central-Australia/photo/#16997493Old Telegraph Station, Alice Springshttps://davidparkerphotography.slickpic.com/albums/Central-Australia/photo/#16997494Old Telegraph Station, Alice Springshttps://davidparkerphotography.slickpic.com/albums/Central-Australia/photo/#16997489John Flynn Church, Alice Springshttps://davidparkerphotography.slickpic.com/albums/Central-Australia/photo/#16997488Alice Springshttps://davidparkerphotography.slickpic.com/albums/Central-Australia/photo/#16997490Todd Mall, Alice Springshttps://davidparkerphotography.slickpic.com/albums/Central-Australia/photo/#16997486Devils Marbleshttps://davidparkerphotography.slickpic.com/albums/Central-Australia/photo/#16997484Devils Marbleshttps://davidparkerphotography.slickpic.com/albums/Central-Australia/photo/#16997482Devils Marbleshttps://davidparkerphotography.slickpic.com/albums/Central-Australia/photo/#16997483Devils Marbleshttps://davidparkerphotography.slickpic.com/albums/Central-Australia/photo/#16997485Devils Marbles
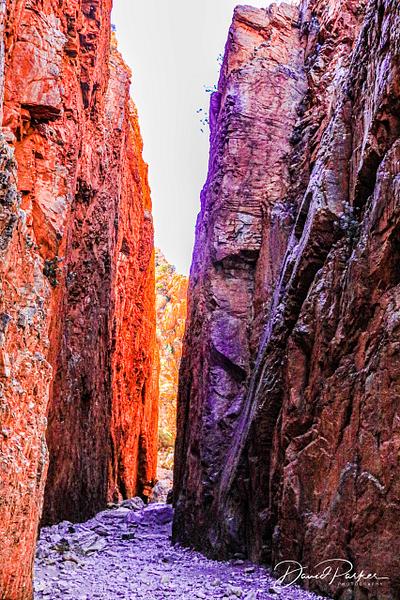
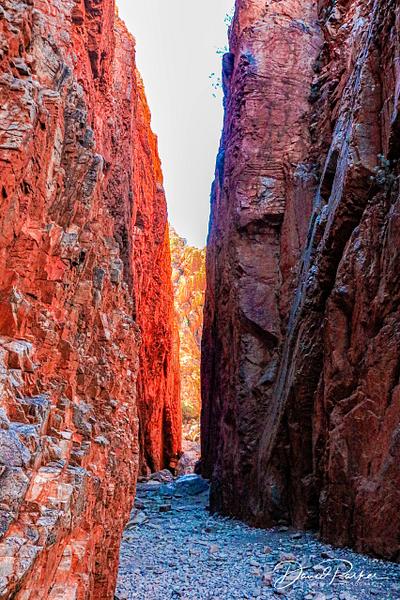
Stanley Chasm
58 views
Stanley Chasm
58 views
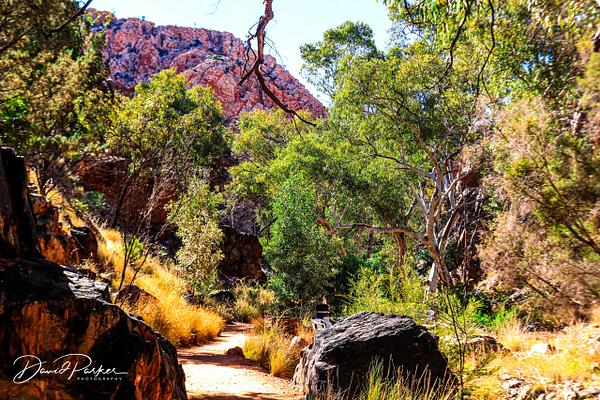
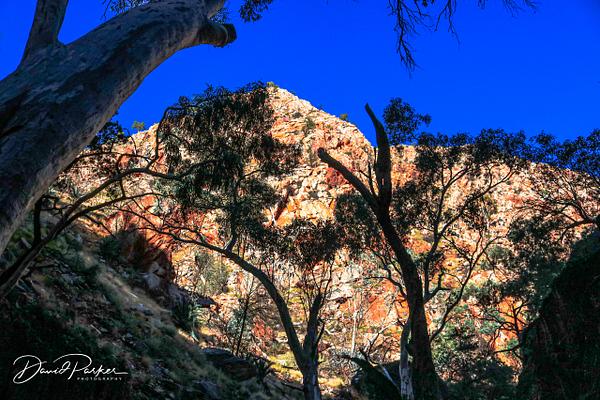
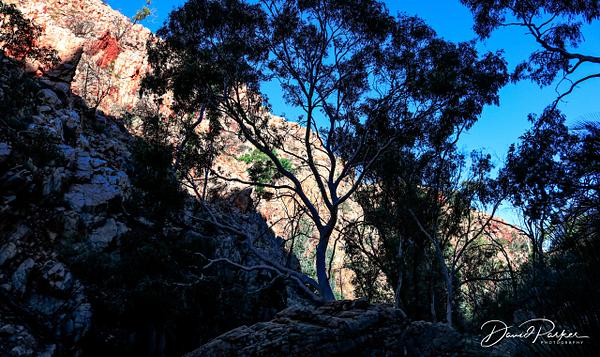
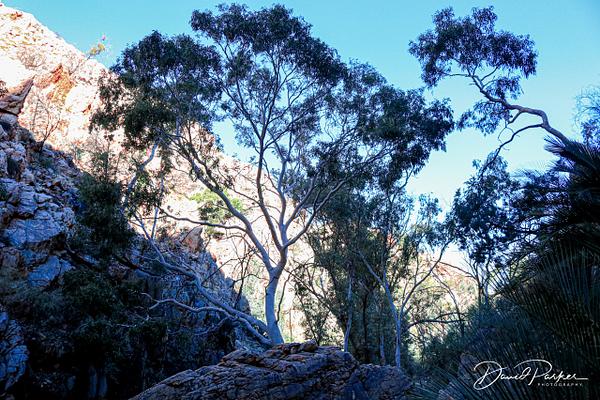
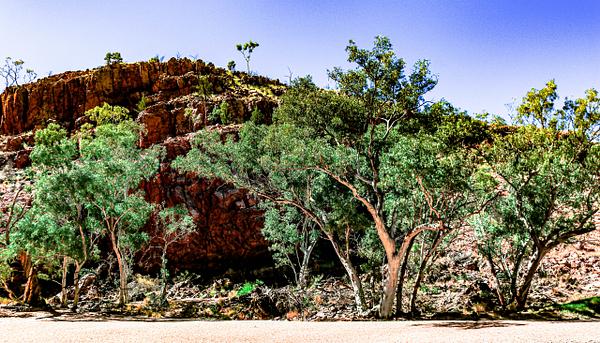
Walk to Stanley Chasm
58 views
Walk to Stanley Chasm
58 views
Walk to Stanley Chasm
58 views
Walk to Stanley Chasm
58 views
Walk to Stanley Chasm
58 views
Walk to Stanley Chasm
58 views
Walk to Stanley Chasm
58 views
Walk to Stanley Chasm
58 views
Walk to Stanley Chasm
58 views
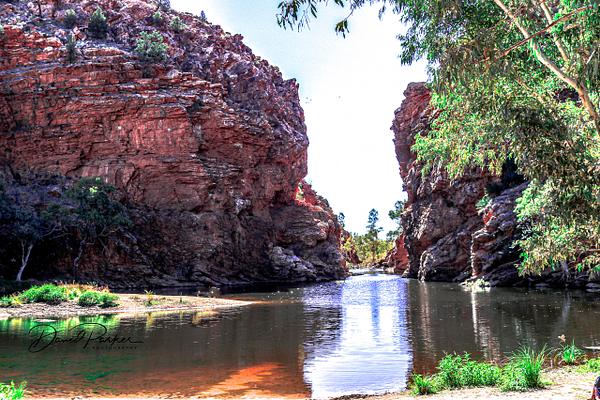
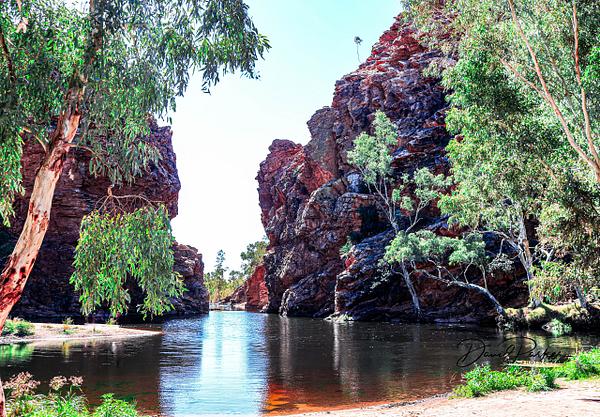
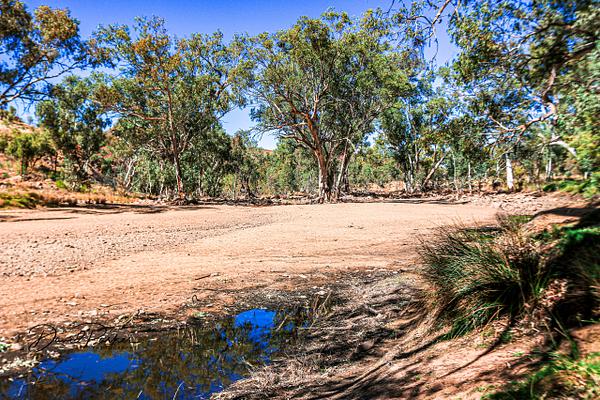
Ellery Creek Big Hole
58 views
Ellery Creek Big Hole
58 views
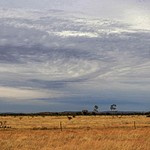
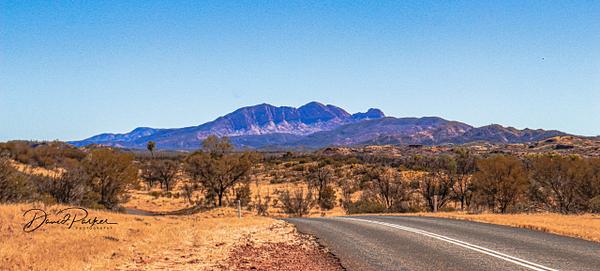
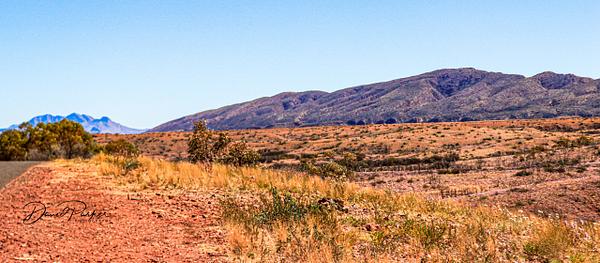
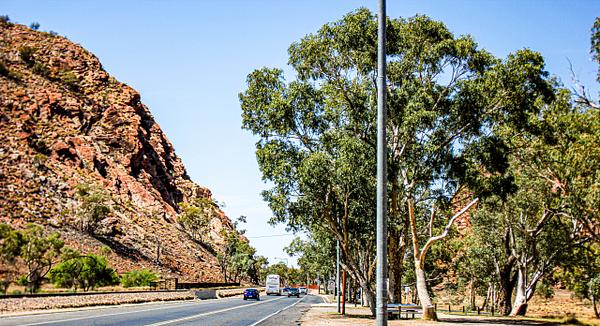
Haast Bluff
58 views
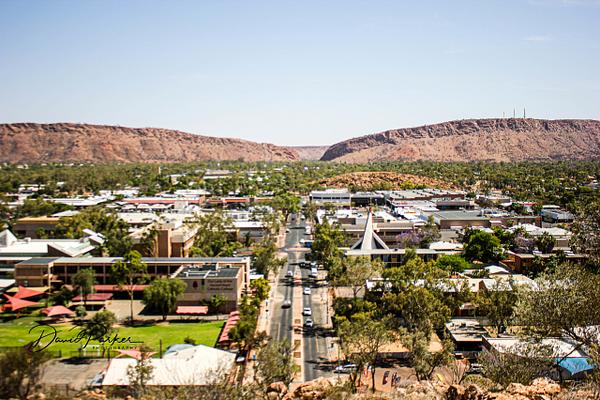
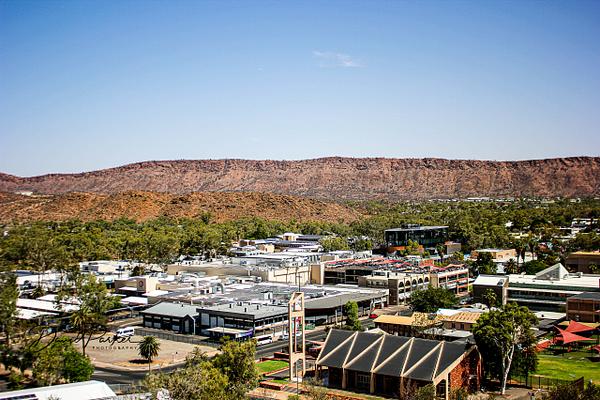
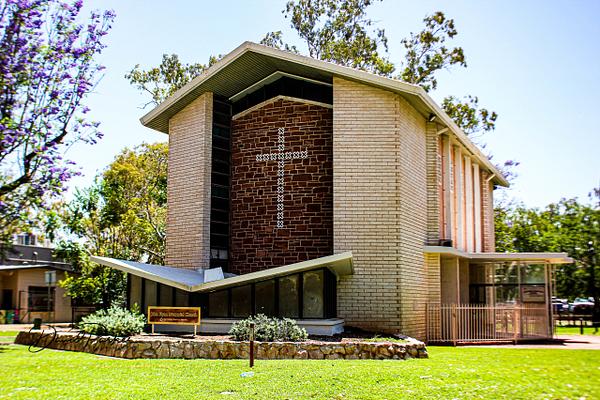
John Flynn's Grave
59 views
John Flynn's Grave
19 views
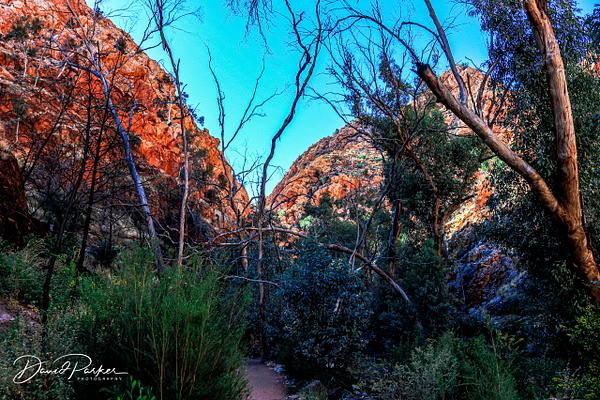
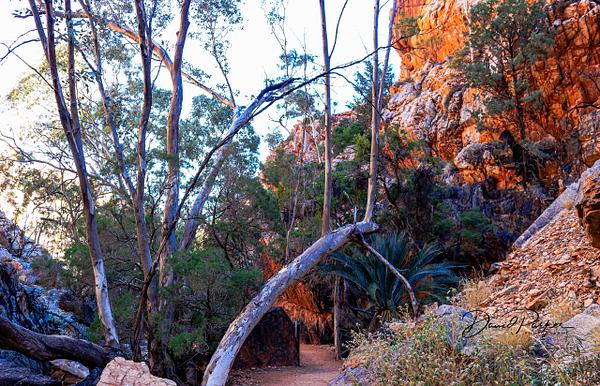
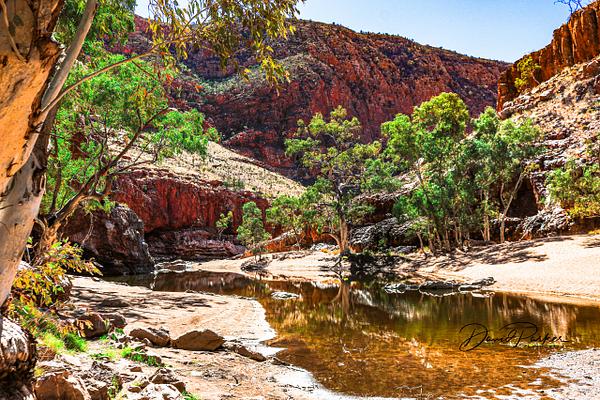
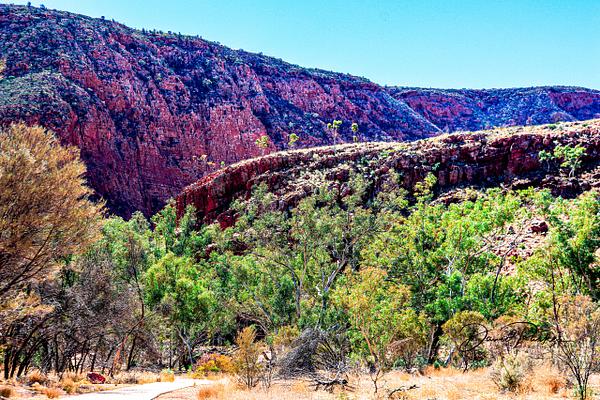
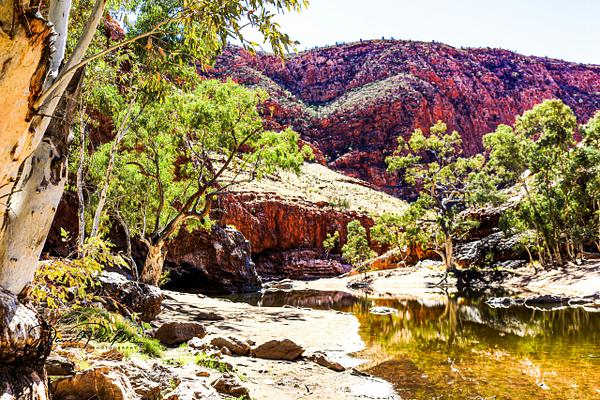
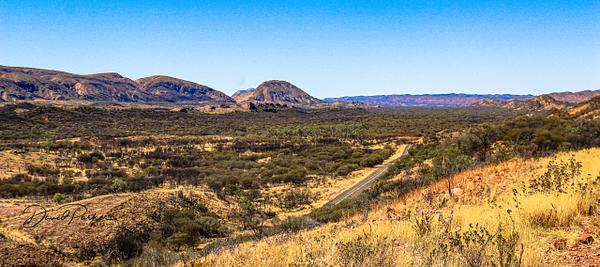
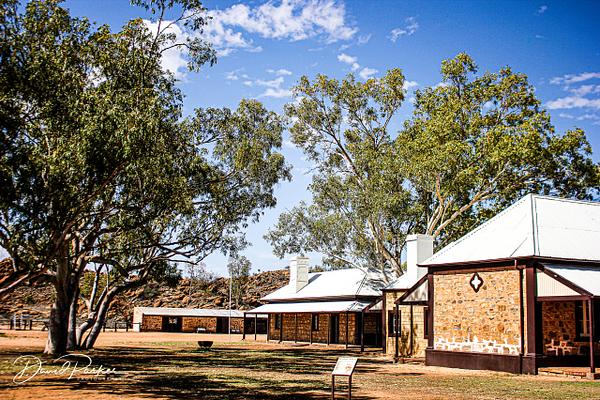
Ormiston Gorge
19 views
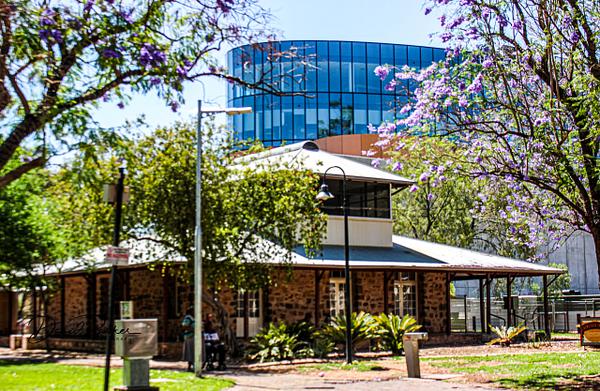
Ormiston Gorge
19 views
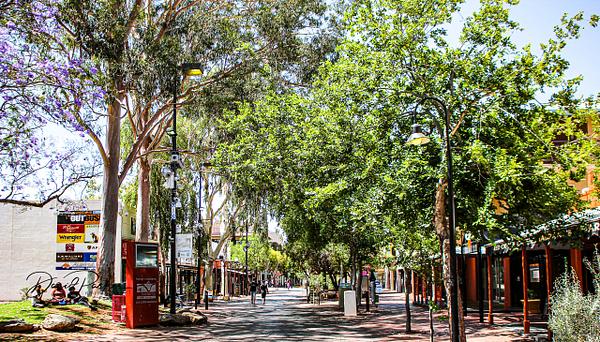
Ormiston Gorge
19 views
Ormiston Gorge
19 views
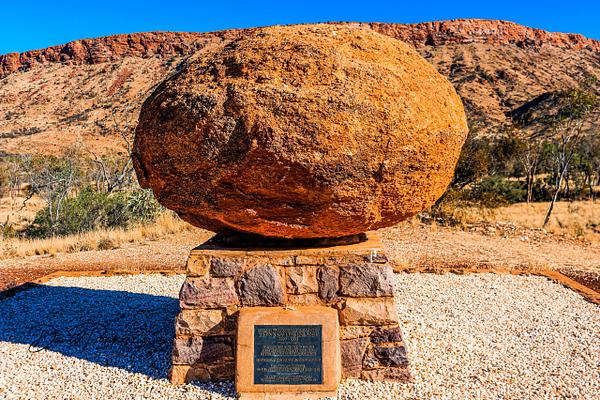
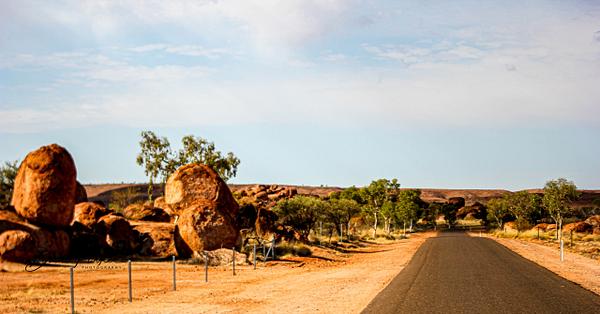
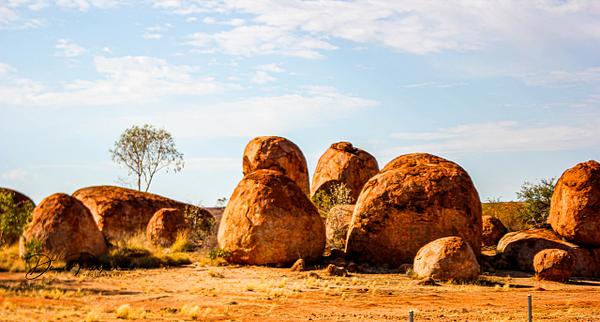
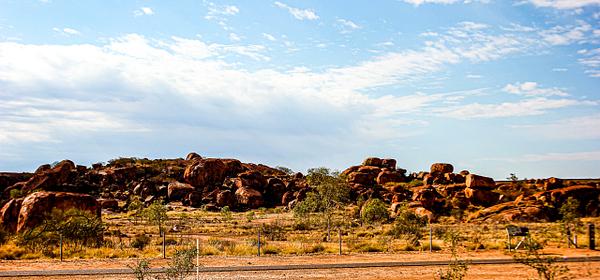
Ormiston Gorge
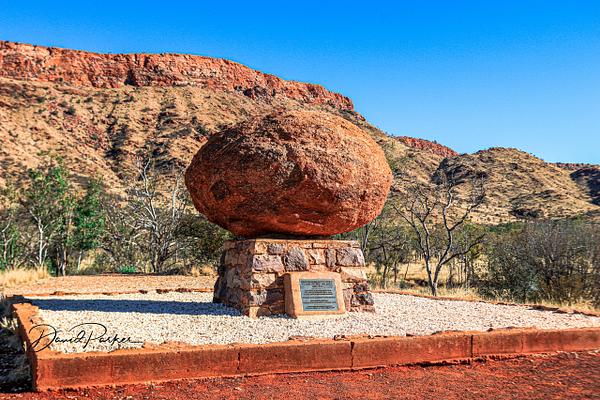
19 views
Ormiston Gorge
21 views
Ormiston Gorge
19 views
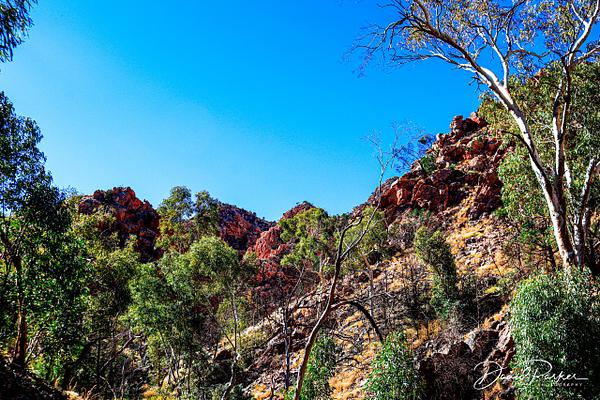
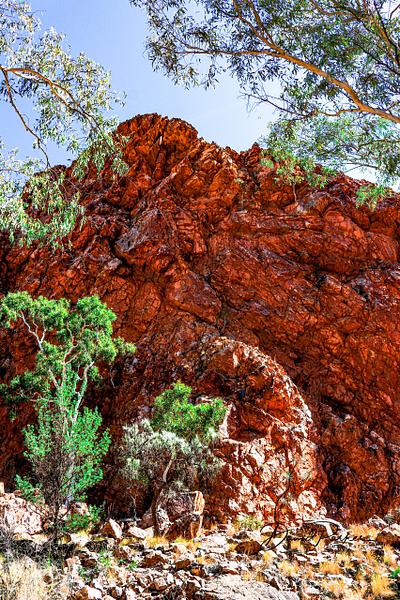
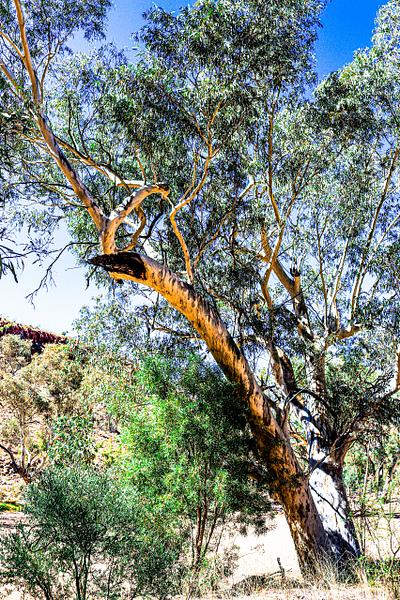
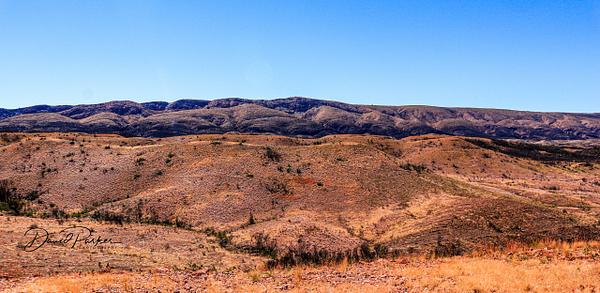
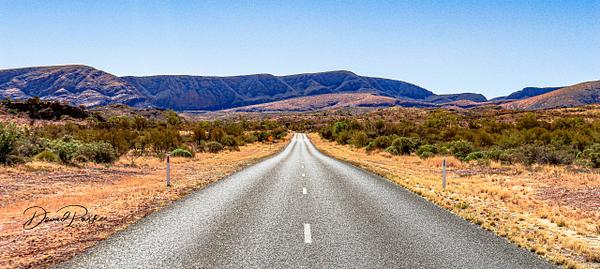
Western McDonnell Ranges (1)
19 views
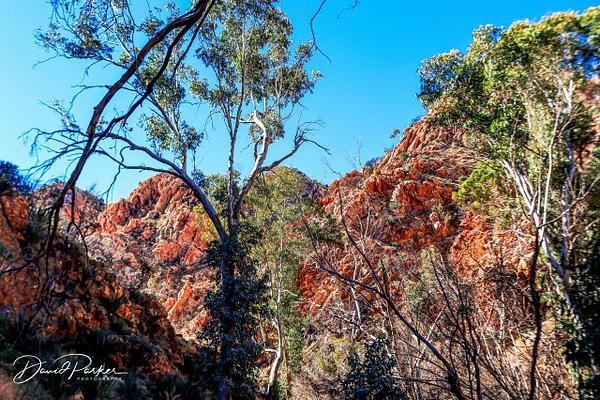
Western McDonnell Ranges (2)
19 views
Western McDonnell Ranges (3)
19 views
Western McDonnell Ranges (4)
19 views
Western McDonnell Ranges (5)
19 views
Western McDonnell Ranges (6)
19 views
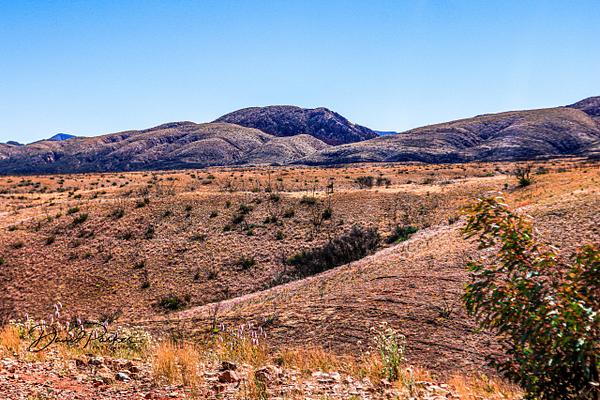
Western McDonnels, with Haast Bluff in the distant background
19 views
This site uses cookies to enhance your browsing experience, serve personalized content, and analyze traffic. By continuing to use this site you agree touse of cookies and stewardship of your data.


No comments yet...
All fields are required, fill in the form.
Comment successfully added.
Comment